


In this article, we will overview the System Restore Point feature implemented in desktop Windows versions, and explain how to achieve a similar recovery option in Windows Server 2008.
What Is System Restore Point?
System Restore Point is included in desktop Windows versions (e.g Windows XP, 7, 10), that allows users to roll back system registry changes and crucial system folders content to one of the previously created “snapshots”. It allows recovery after wrong driver installation or changes made by unstable third-party software.
The feature may look like a “silver bullet” in the event of infection of malicious software or corruption of one of the installed apps. But there are a few peculiarities you should know about:
- System Restore Point is not a backup - this mechanism allows you to temporarily save a point-in-time Windows state. This state includes the system registry and crucial system folders necessary for proper work. This feature, for example, will not help to recover deleted user files.
- If you have uninstalled some software and then decided to retrieve it - using System Restore Point is not the solution, since it may not contain all program files your software used. It will just recover its registry data, shortcuts, and, most likely, its main executables.
- System Restore Point cannot guarantee the removal of malicious software since this tool does not contain copies of all areas that could be infected.
As you see, System Restore is not the best way to protect the system or user data. There is a similar and more straightforward mechanism supported by all Windows server versions - System State backup. It also supports command-line interface for better flexibility.

Windows Server 2008 System Restore Point with Windows Server Backup
System State backup contains copies of the Windows registry and the most important system files and drivers necessary to create and save documents, as well as other Microsoft Apps content:
- Active Directory data - if the computer runs AD services.
- Certification Authority configuration and content.
- Cluster database if the server runs Windows Server Failover Cluster service.
- Windows Performance Counter information and Component Services database.
System State can help fix many system failures if the OS can boot up successfully. If not, you will need additional tools to use this backup type.
The following is how to create a System State backup in Windows Server 2008 (R2):
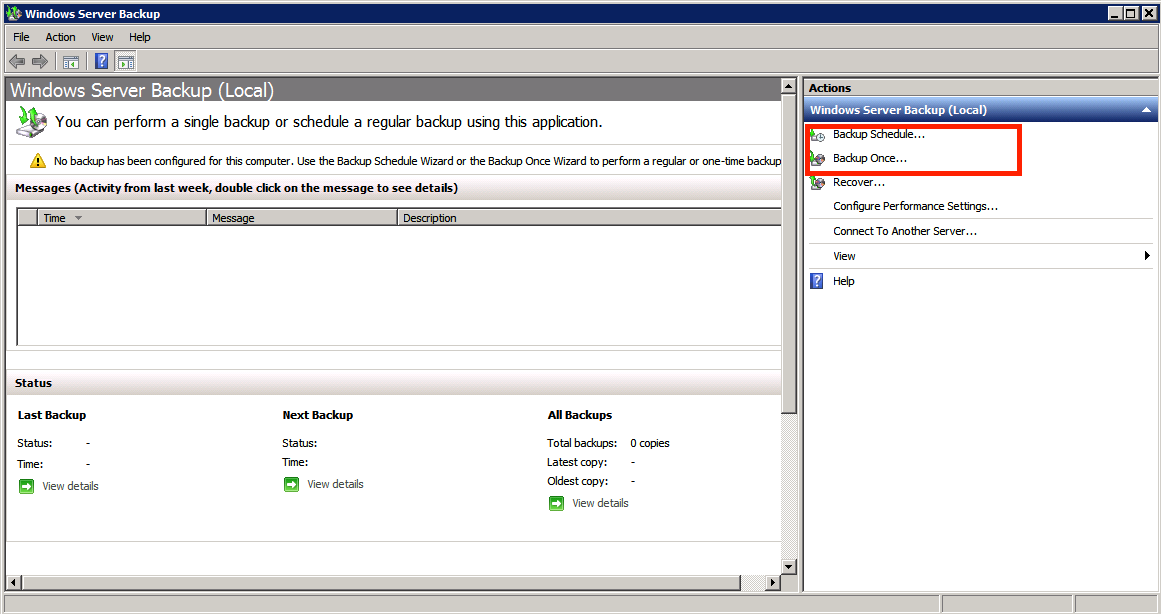
1 Launch Windows Server Backup using All Programs menu. Click either Backup Schedule or Backup Once, depending on your case. We will use the Backup Schedule as an example.
2On the Select Backup Configuration step click Custom and proceed.
3Click Add Items and select System State in the new window. You can also include additional files or folders in the same backup.

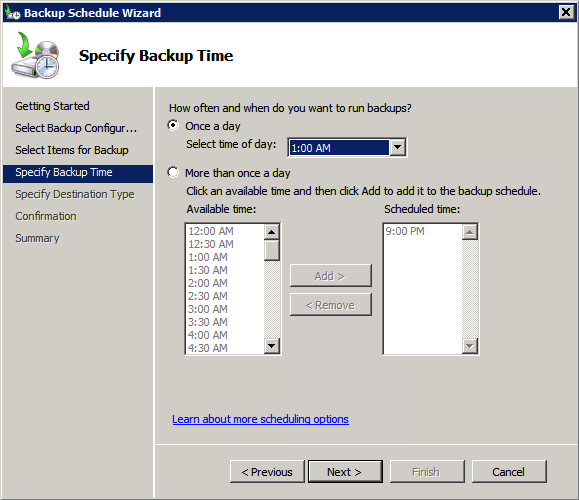
4The Specify Backup Timestep allows you to configure the backup schedule. We suggest creating a System State backup every day to minimize RPO - this backup type will not last
5Choose the backup destination on the next step - either use the entire hard drive, dedicated volume, or network share. If choosing the network share, you need to create a few backup jobs to keep the last N backups, since Windows Server Backup will overwrite backup files every time.
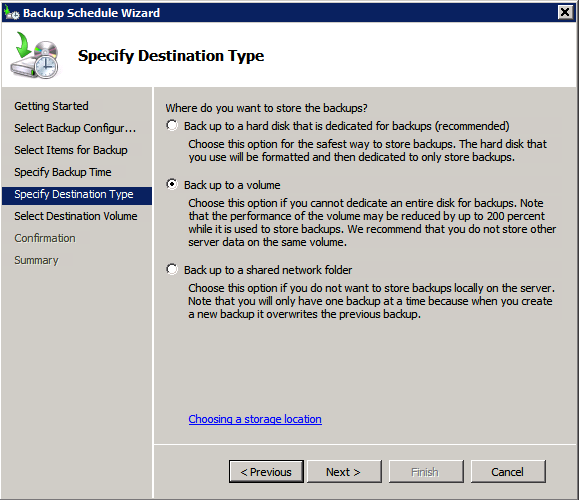
We suggest using the local volume as “the first line of defense”, since you may need to recover the system when the network is not available - for example, if faced with NIC driver-related issues.
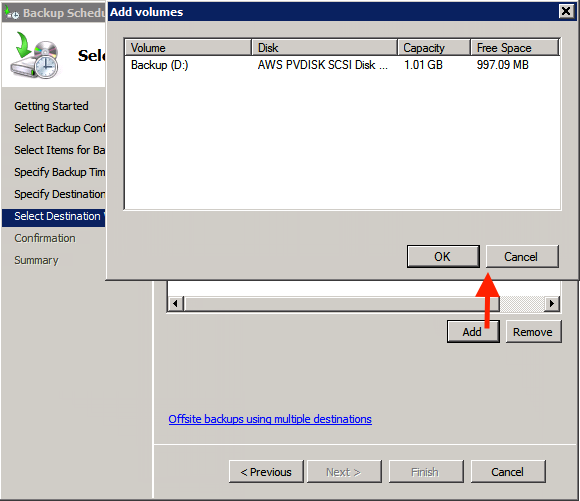
6Add the desired volume on the next step and click Finish. The backup is now configured.
Windows Server Backup is free to use, but please note its peculiarities:
- You cannot store a backup in the local folder of your choice. The backup tool only uses the whole drive, dedicated volume, or network share.
- Cloud storage providers are not directly available as a backup target. As a workaround, you can configure a separate tool to synchronize the System State backup folder with cloud or offsite storage.
- Multiple location backups (used as a best practice in the “3-2-1 backup strategy) are harder to implement using the built-in Windows tool - you need to create a separate backup job per target storage. So, every backup copy will actually lead to a few “hot” backups being made.
If you need more flexibility and a full-featured solution, consider using a third-party backup tool.
Here’s how to create a point-in-time backup with ystem State scope using MSP360 Backup.
Windows Server 2008 Restore Point with MSP360 Backup
MSP360 Backup is a cloud backup tool that supports point-in-time backups for the whole server or for only a few files or apps.
To create a local or cloud System State backup:
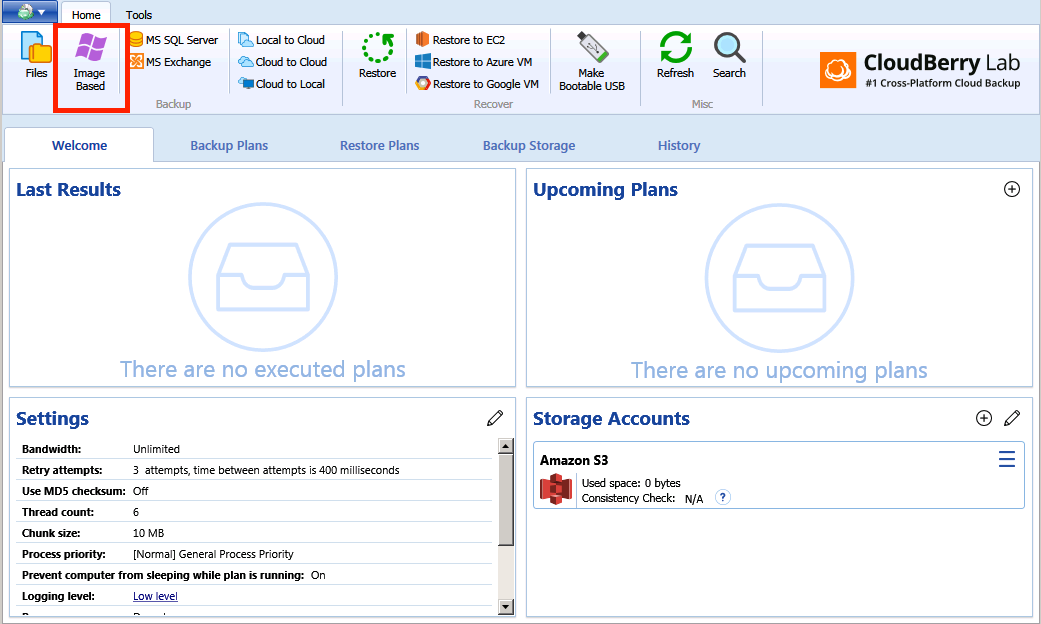
1Launch MSP360 Backup and click the Image Based button at the top-left corner.
2Select Local or Cloud backup and click next.
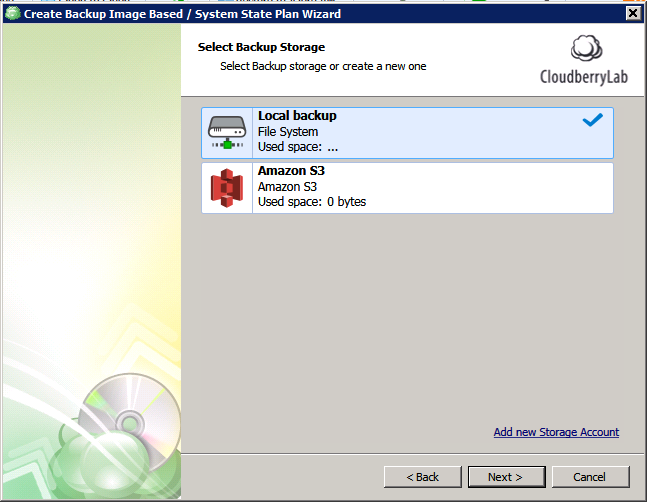
3On the Select Backup Storage step, you can select cloud storage or connect local/network folder. In this example, we will use the local folder on one of the server volumes.
 Since there is no local folder connected, let’s create one. Click Add new Storage Account.
4Select File System in the new window. Type the backup target name and select storage path by clicking the three-dots button.
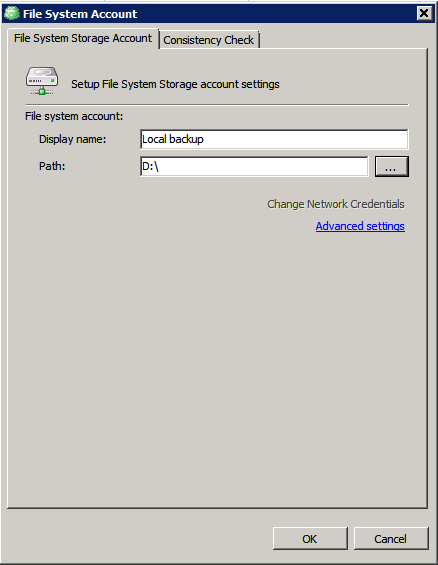
Click OK - now you can select local storage as the backup target.
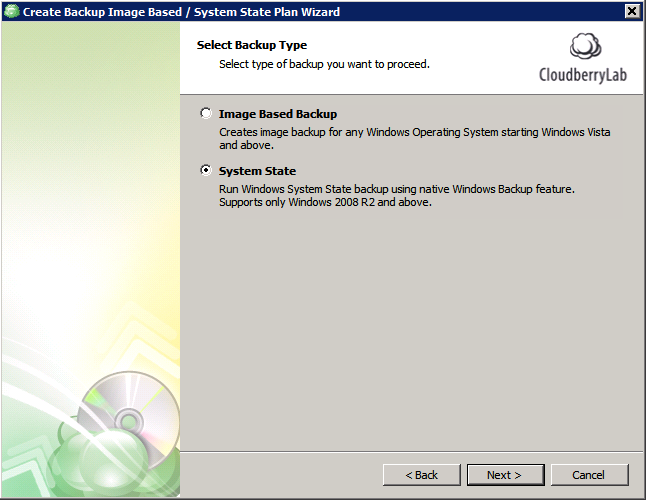
5Proceed to the Select Backup Type step and select the System State option.
6Select one of the available drives for temporary snapshot storage on the next step, and proceed to the Advanced Options step.
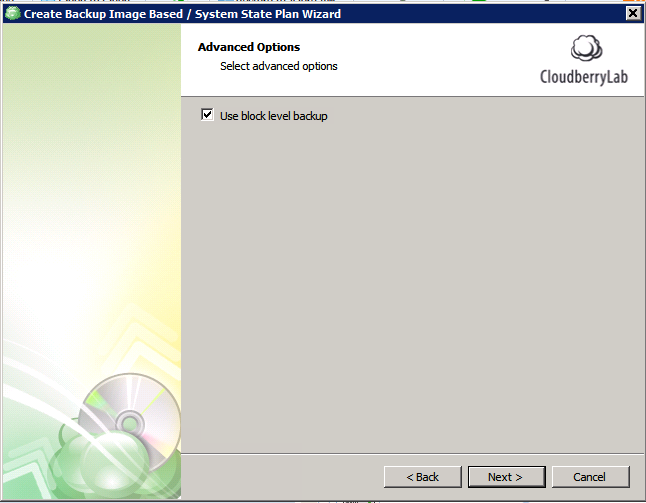
Leave the Use block level backup checkbox enabled to minimize the subsequent backup size by only copying those data blocks changed since the last backup session. Proceed to the Schedule screen leaving the rest of the options on their defaults.
Click Recurring to set the backup schedule on the regular basis.
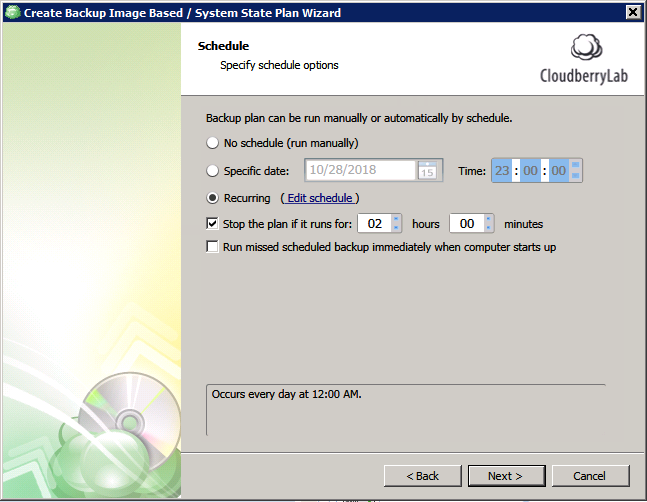
Note: you can avoid running out of a backup window by selecting the Stop the plan if… option, so MSP360 Backup will stop its job if something goes wrong and the backup hangs up.
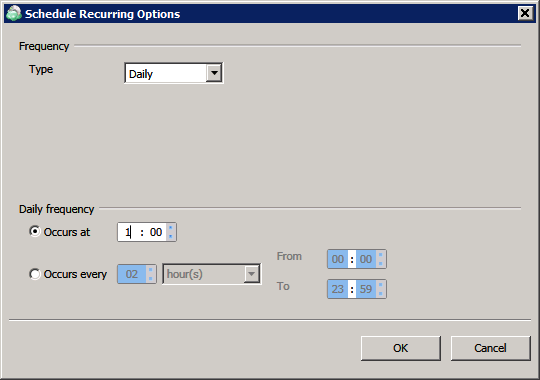
Click Edit schedule and set the desired recurrence.
7The Full Backup Options step allows planning a Full backup. If you have previously chosen the Block-level backup option, MSP360 Backup will create only incremental data copies after the initial backup. Click Schedule Full Backup to select when you would like to create a full data copy.
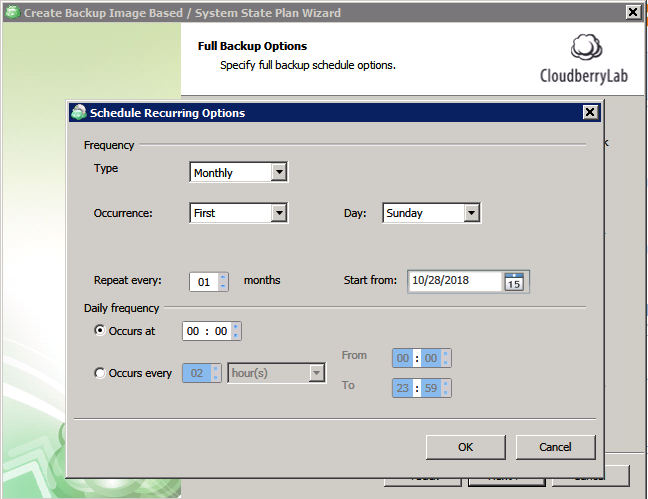
We suggest scheduling Full backups to keep the backup chain the least possible, thus simplifying possible restore operations.
You can leave the rest of the options on their defaults and finish backup plan configuring.
Summary
You can use System State backup as a super-powered server version of the System Restore Point feature. System State covers most OS-critical files and configurations, which allows you to include additional folders in the same backup.
Try out MSP360 Backup to get even better flexibility. It allows you to create a System State backup in local or cloud storage, as well as implement bare metal recovery.

- Image-based, system state and file-level backup
- Local, cloud and hybrid backup
- Multiple recovery options (bare-metal, USB, cloud)
