Backup and IT Management Software

Free MSP Starter Pack
Start now and grow your business with a starter pack perfectly tailored to get your business up and running.
Free Backup
Free Wasabi Storage
Free RMM
Free Deep Instinct

Backup and IT Management Spotlight


Backup
Connect
RMM
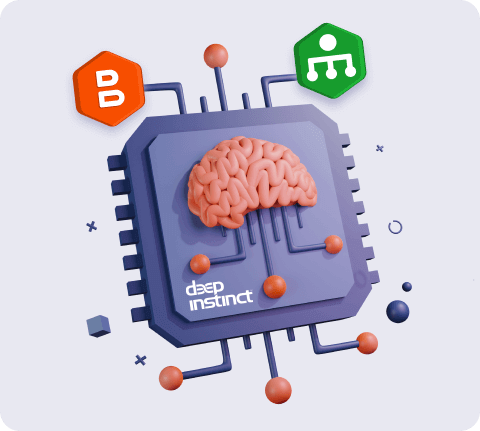
Deep Instinct x MSP360 Backup
Add an advanced layer of security and prevent known and unknown threats from entering your enviroment to ensure you’re protected from ransomware or any malicious attacks with MSP360 powered by Deep Instinct.
Backup and IT Management Software Solutions
For MSPs
MSP360 backup and IT management software allows you to build a highly profitable and easy-to-manage IT services business in just 15 minutes. With monthly billing and no contract, provide data protection, remote support, IT asset management services to your customers under your own brand. Grow your business faster with MSP360™.
Learn more

For Internal IT
Easily protect your Windows, MacOS, Linux endpoints, as well as Microsoft 365 as well as Google Workspace accounts, with a secure data backup solution. Centrally manage and monitor the hardware and software performance of your IT assets. Quickly start a remote session for immediate endpoint access.
Learn more

Stay Fully Protected With Deep Instinct
Forget about outdated security systems - enhance your endpoint security with MSP360 and Deep Instinct. Implement a prevention-first approach and get some peace of mind knowing that malware won't ever find its way into your systems when you use the world's first and only deep-learning cybersecurity solution.
Learn more
Learn How MSP360 Will Grow Your MSP Business
MSP360™ provides simple and reliable cutting-edge Backup and IT management software for MSPs and IT departments worldwide. Watch the video to learn more.

Product Reviews And Customer Feedback
What Our Customers Say
Craig Rabe
First Class Networks

What Our Customers Say
Matthew Odom
IT BUSINESS RISK ADVISOR

What Our Customers Say
Brett Humphries
IDACOMP, LLC.

What Our Customers Say
Matthew Rebstock
FLASH COMPUTER SERVICES

What Our Customers Say
David Diaz

What Our Customers Say
Juan Nieves
Virtual Pulsar

What Our Customers Say
Robert Kanter
ITI Smart Solutions

What Our Customers Say
Jon Matero
NETWORK HEROES

What Our Customers Say
Jordan Morel
ITI Smart Solutions


Backup and IT Management Software Simplified